
 what’s app : +91 9290097068

Patient Transfer Machine WY-203

₹ 22,440.00
- Description
- Images,Videos & Manuals
- Questions & Answers
Description
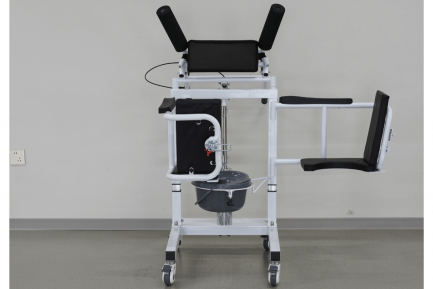
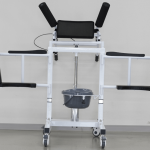
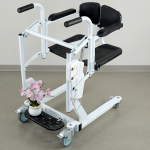
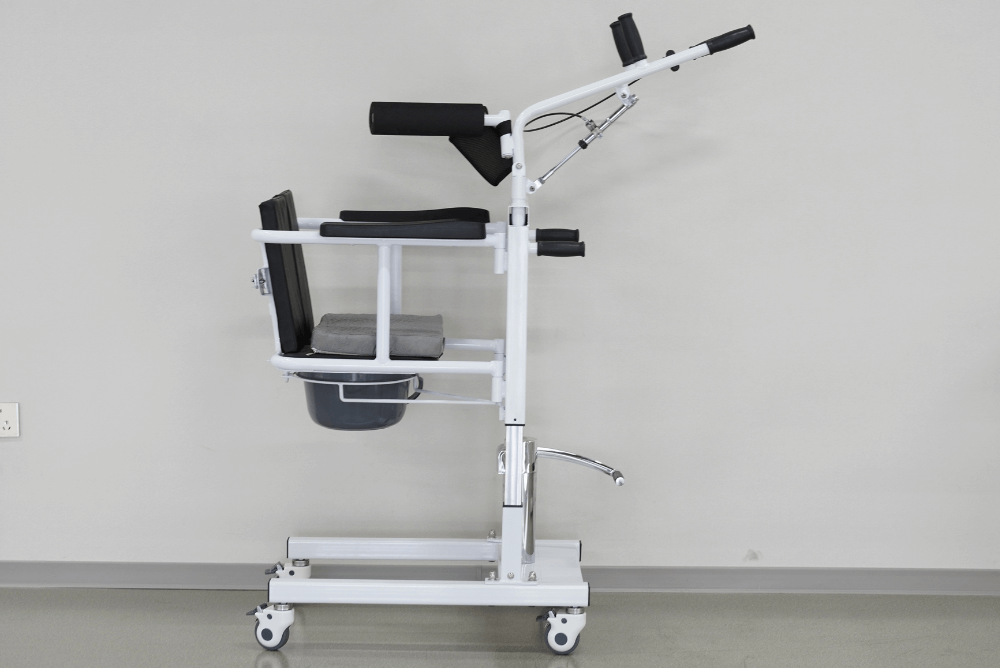
1. Product Name: Patient Transfer Machine
2. Model: WY-203
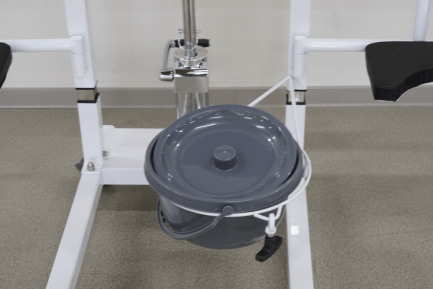
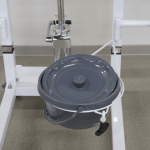
3. Structure and Components: Frame, casters, base legs, lifting rod, controller assembly, armrests.
4. Intended Use: For patient transfer and mobility in medical institutions. Unit: cm Tolerance: ±10cm
Specifications:
| Model | WY-203 |
| Seat Depth | 40cm |
| Seat Width | 42cm |
| Overall Width | 58cm |
| Seat Height | 85-105cm |
5. Operating Procedures (Transfer):
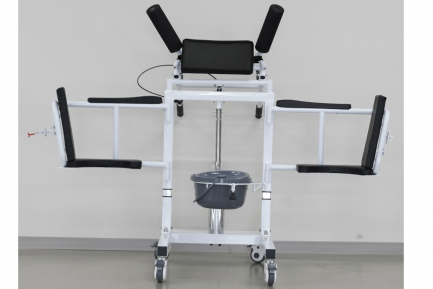
Seated Transfer:
1.Have the user sit upright. Open the seat and position it in front of the user. Lift the user’s feet onto the footrest and lock the brake before seating.The parking brake lock is locked before the user sits on the transfer machine
2.Guide the user to lean slightly left/right while rotating the corresponding seat half to allow entry. Close the backrest and lock the automatic latches and safety latches once fully seated.
3.After confirming both backrest latches are locked, release the brake. Move the user using the front handle.
4.Upon reaching the target location, open the dual backrest latches, rotate the seat open, and assist the user in exiting.
Height Adjustment:
1.Loosen the locking lever and adjust the seat height by moving the control handle up/down.
2.Tighten the locking lever once the desired height is achieved.
6. Safety Precautions
1.Before use, ensure all components are complete and secure for safety.
2.Do NOT stand on the footrest during entry/exit; always step on solid ground.
3.Adjust the machine to a suitable height before use.
4.Ensure both seat halves are at the same height before use.
5.Do NOT adjust the height while the user is seated.
6.Lock all wheels during entry/exit.
7.Lock all four wheels when stationary on slopes.
7. Maintenance
1.Regularly inspect and maintain the machine to prevent user injuries.
2.Clean stains with neutral detergent.
3.Periodically check for loose nuts, damaged, or broken parts; replace if necessary.
4.Follow the manual instructions during disassembly to avoid damage.
8. Packaging, Transport, and Storage
1.Packaging: Carton packaging.
2.Transport: Handle with care; avoid inversion and exposure to rain.
3.Storage: Store in a well-ventilated, dry area (humidity ≤80%) free of corrosive gases.
Return Policy: This Product is Non returnable.
Product Manual
 |
Questions and answers of the customers
There are no questions yet, be the first to ask something for this product.
